Self-hosting
Deploy TofuPilot on your own infrastructure.

Overview
TofuPilot accounts are hosted on our AWS-powered cloud, managed by our team. This ensures strong security, high performance, automatic updates, and no infrastructure to manage on your side.
If you have strict IT requirements or need full control, you can self-host TofuPilot on your own infrastructure.
Prerequisites
Enterprise trial
Contact our team to activate an Enterprise trial. We'll give you access to the private installation repository and Docker image.
Your cloud data can be migrated to your self-hosted instance on request.
System requirements
Make sure your server meets these specs:
- OS: Ubuntu 20.04 LTS or later (64-bit)
- CPU: 2 cores or more
- RAM: 4 GB minimum
- Storage: 20 GB+ depending on file uploads
- Privileges: Sudo access required
- Network: Ports 80 (HTTP) and 443 (HTTPS) must be open
Domains
Prepare your domain and DNS settings:
- Use a main domain for the app (e.g.
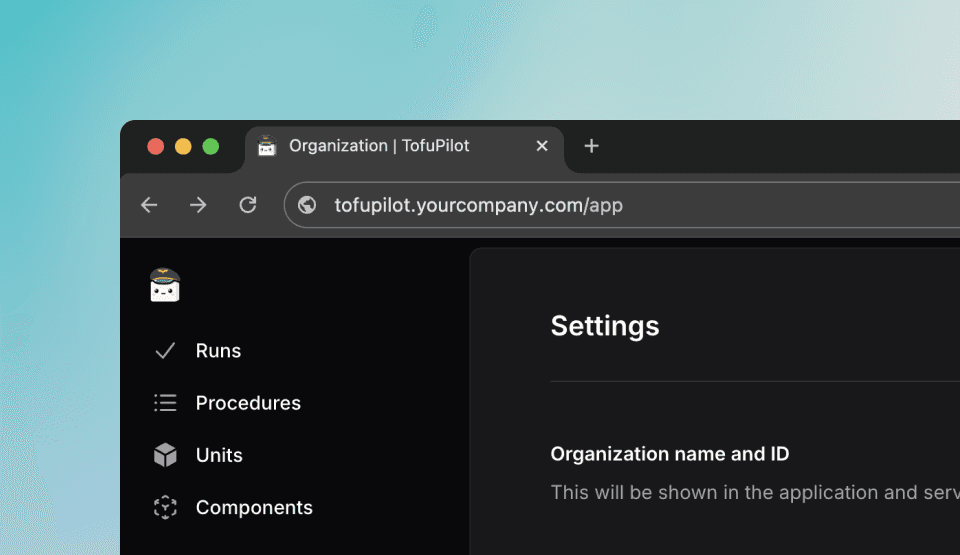
tofupilot.yourcompany.com) - Use a second domain for file storage (e.g.
storage.tofupilot.yourcompany.com) - Point both subdomains to your server IP with A records
- Have an email address ready for Let's Encrypt SSL
Authentication
TofuPilot doesn’t store passwords. You can enable:
- Email authentication: via magic code
- OAuth authentication: Google or Microsoft accounts
Enable at least one method.
Email setup
Get your SMTP credentials:
- SMTP Host: e.g.
smtp.yourdomain.com - Port:
587(TLS) or465(SSL) - Email From: e.g.
auth@yourdomain.com - SMTP User / Password: login credentials
Microsoft OAuth
- Go to Azure Portal
- Open Microsoft Entra ID → App registrations
- Register a new app:
- Redirect URI:
https://tofupilot.yourcompany.com/api/auth/callback/microsoft - Choose account type (single or multi-tenant)
- Redirect URI:
- Copy:
- Client ID
- Tenant ID
- Client Secret (from Certificates & Secrets)
Azure Government Cloud: If using Azure Government (.us), set your issuer URL to:
https://login.microsoftonline.us/{tenant-id}/v2.0
Google OAuth
- Go to Google Cloud Console
- Create OAuth 2.0 Client ID
- Set redirect URI:
https://tofupilot.yourcompany.com/api/auth/callback/google - Copy:
- Client ID
- Client Secret
Deploy
SSH into your server
ssh user@your_server_ipInstall required packages
sudo apt update && sudo apt upgrade -y
sudo apt install docker.io
sudo apt-get install docker-compose-plugin
sudo apt install git
Clone the repo
git clone https://github.com/tofupilot/self-hosting.git && cd self-hostingRun the installer
chmod +x ./deploy.sh
sudo bash ./deploy.sh
You’ll be asked:
Hostname for your TofuPilot? [tofupilot.example.com]:
Hostname for your TofuPilot storage? [storage.tofupilot.example.com]:
Email for SSL cert? [me@example.com]:
Google Client ID? [...]:
Google Client Secret? [...]:
Azure AD Client ID? [...]:
Azure AD Client Secret? [...]:
Azure AD Tenant ID? [...]:
SMTP server? [...]:
SMTP port? [...]:
SMTP user? [...]:
SMTP password? [...]:
SMTP from email? [...]:
Post-installation
Go to your domain (e.g. https://tofupilot.yourcompany.com) and create your admin account. We recommend naming the organization app.
Upload runs to your instance
Configure your test scripts to point to your self-hosted instance by specifying the URL:
import openhtf as htf
from tofupilot.openhtf import TofuPilot

def main():
  test = htf.Test(
      procedure_id="FVT1",
      part_number="PCB1",
  )
  # Specify your instance URL
  with TofuPilot(test, url="https://tofupilot.yourcompany.com"):
      test.execute(lambda: "PCB1A001")

if __name__ == '__main__':
  main()
from tofupilot import TofuPilotClient
from datetime import timedelta
def main():
# Point to your self-hosted instance
client = TofuPilotClient(url="https://tofupilot.yourcompany.com")
client.create_run(
procedure_id="FVT1",
run_passed=True,
unit_under_test={
"serial_number": "PCB1A001",
"part_number": "PCB1"
},
duration=timedelta(minutes=1, seconds=45),
)
if __name__ == '__main__':
main()from tofupilot.v2 import TofuPilot
def main():
# Configure v2 client with your instance
client = TofuPilot(
api_key="your_api_key",
server_url="https://tofupilot.yourcompany.com/api"
)
# Create a test run
result = client.runs.create(
procedure_id="FVT1",
run_passed=True,
unit_under_test={
"serial_number": "PCB1A001",
"part_number": "PCB1"
}
)
print(f"Run created: {result.url}")
if __name__ == '__main__':
main()Custom certificates
If your self-hosted instance uses custom SSL certificates (self-signed or internal CA), configure the Python client to trust them.
Get the certificate
# Download certificate from your server
echo | openssl s_client -connect tofupilot.yourcompany.com:443 -showcerts 2>/dev/null | openssl x509 -outform PEM > ca-certificate.pem
Connect with custom certificate
Pass the certificate file path to your Python client to establish a secure connection:
from tofupilot import TofuPilotClient

# Specify certificate path
client = TofuPilotClient(
  url="https://tofupilot.yourcompany.com",
  verify="/path/to/ca-certificate.pem"
)

# For OpenHTF
from tofupilot.openhtf import upload
test.add_output_callbacks(
  upload(
      url="https://tofupilot.yourcompany.com",
      verify="/path/to/ca-certificate.pem"
  )
)
from tofupilot.v2 import TofuPilot
import httpx
# Create HTTP client with certificate
http_client = httpx.Client(
verify="/path/to/ca-certificate.pem"
)
client = TofuPilot(
api_key="your_api_key",
server_url="https://tofupilot.yourcompany.com/api",
client=http_client
)Update
To update your instance:
git pull origin main
docker-compose down && docker-compose up -d --pull always
Backups
Make sure to back up the following Docker volumes:
Volumes
database-data: holds all DB schema and recordsstorage-data: stores user-uploaded files (attachments, profile pics, etc.)
Backup tips
Use snapshots, off-site sync, or encrypted storage to keep your instance safe in case of failure or migration.
How is this guide?